Introduction
Apache Cassandra is a well-established wide-column NoSQL database. It uses a column-based storage model to capture large amounts of unstructured data.
Cassandra focuses on operating in a distributed cluster of commodity servers and boasts high-availability and flexible horizontal scaling.
This detailed tutorial shows you how to install Apache Cassandra on Windows.
Dependencies
Apache Cassandra requires Java 8 to run on a Windows system. Additionally, the Cassandra command-line shell (cqlsh) is dependent on Python 2.7 to work correctly.
To be able to install Cassandra on Windows, first you need to:
- Download and Install Java 8 and set environment variables.
- Download and install Python 2.7 and set environment variables.
If you already have these dependencies installed, check your version of Python and Java. If you have Java 8 and Python 2.7. feel free to move on to the third section of this guide.
The Java development kit contains all the tools and software you need to run applications written in Java. It is a prerequisite for software solutions such as Apache Cassandra.
1. Visit the official Oracle download page and download the Oracle JDK 8 software package.
2. Scroll down and locate the Java SE Development Kit 8u251 for Windows x64 download link. The Java 8 download starts automatically after signup.

Note: If you do not have an Oracle account, the website guides you through a quick signup process. Alternatively, you can download Java from a third-party website of your choosing. Always make sure to confirm the source of the download.
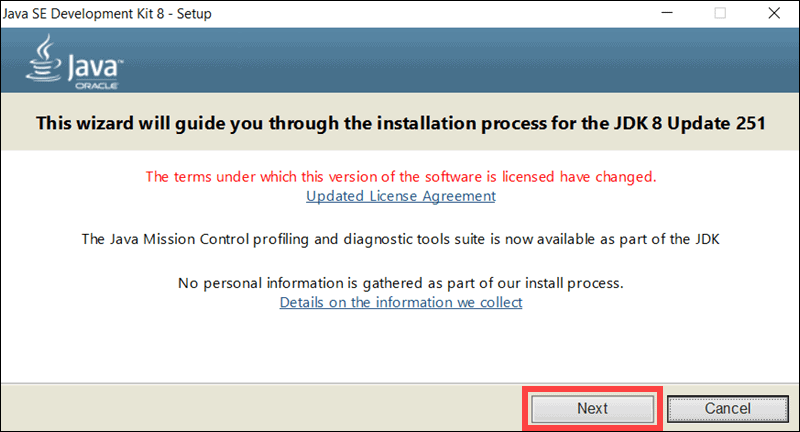
3. Once the download is complete, double-click the downloaded executable file. Select Next on the initial installation screen.
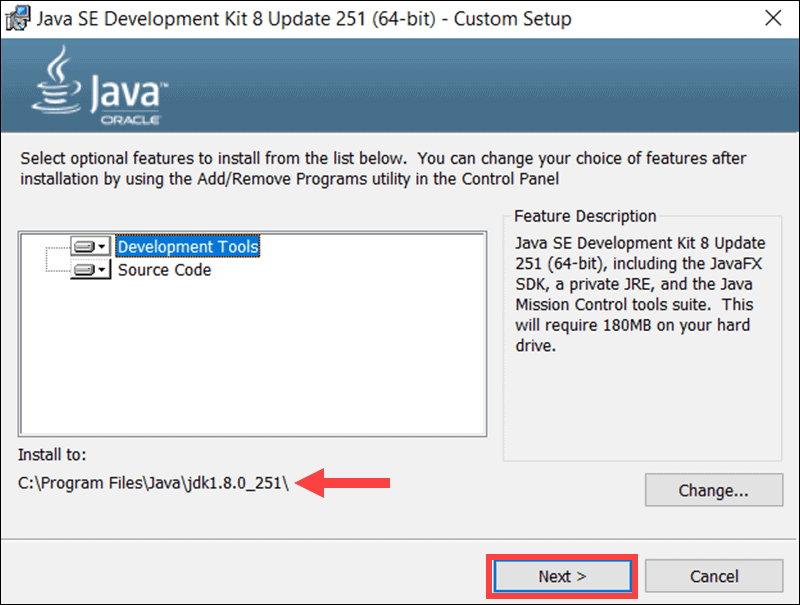
4. The following section allows you to select optional features and define the location of the installation folder. Accept the default settings and take note of the full path to the installation folder, C: Program FilesJavajdk1.8.0_251. Once you are ready to proceed with the installation, click Next.
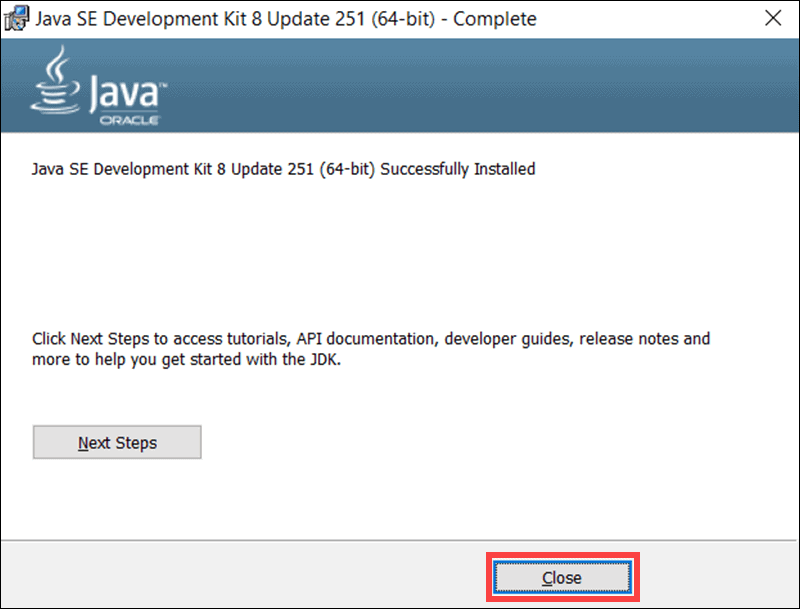
5. The installation process can take several minutes. Select Close once the process is completed.
It is vital to configure the environment variables in Windows and define the correct path to the Java 8 installation folder.
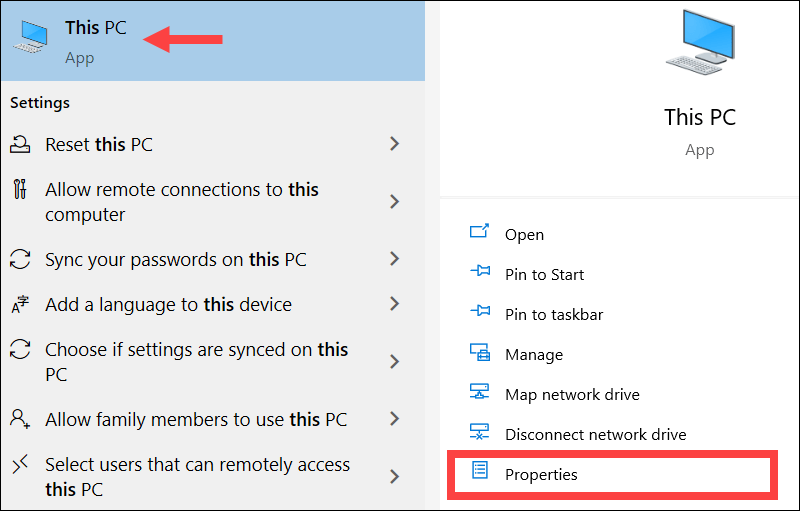
1. Navigate to This PC > Properties.
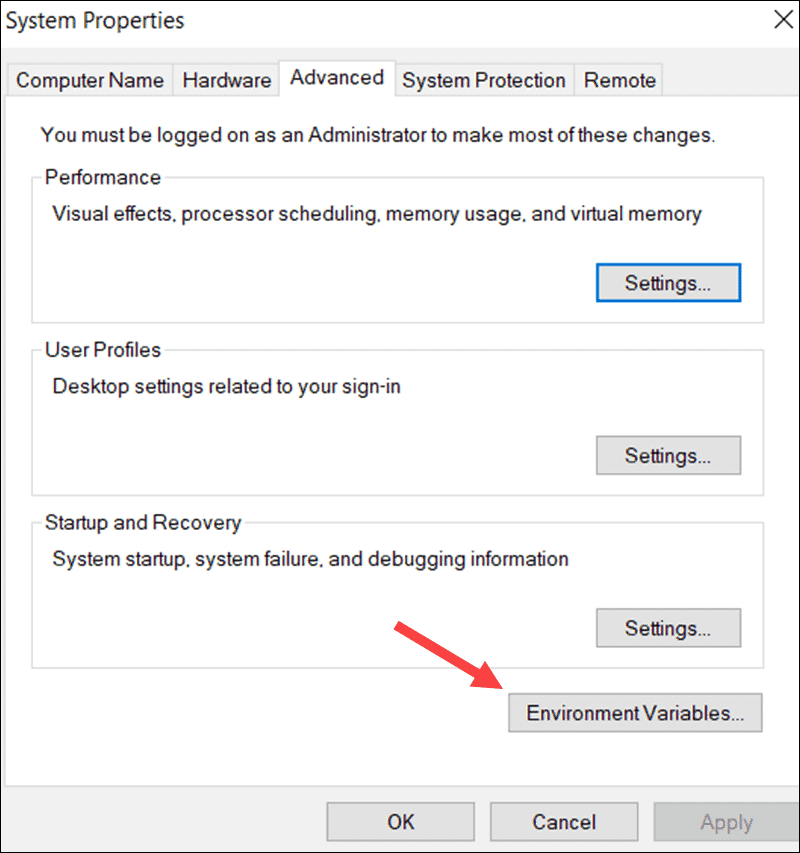
2. Select Advanced system settings.

3. Click the Environment Variables… button.
4. Select New in the System Variable section.

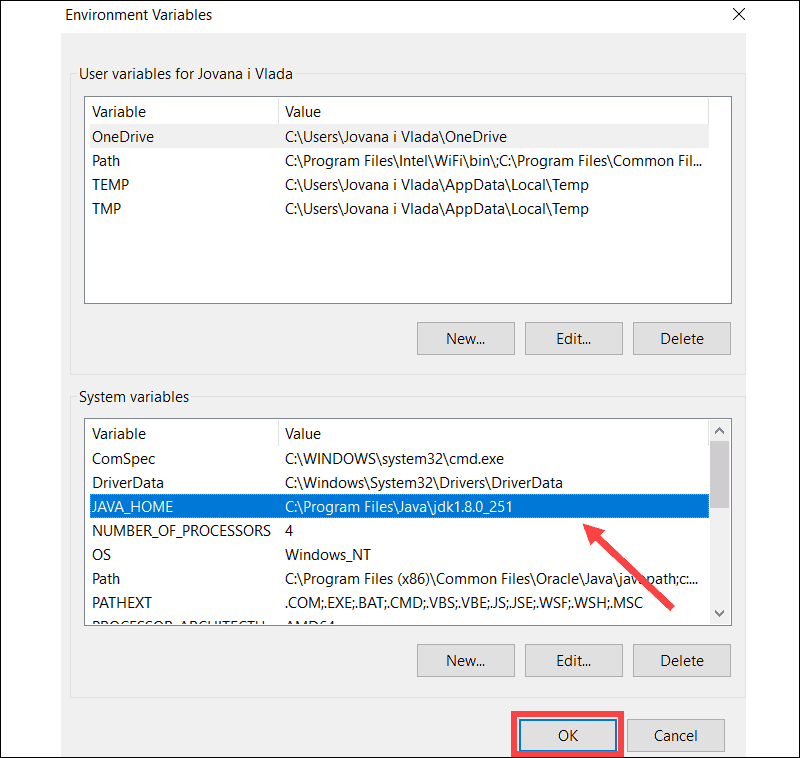
5. Enter JAVA_HOME for the new variable name. Select the Variable value field and then the Browse Directory option.
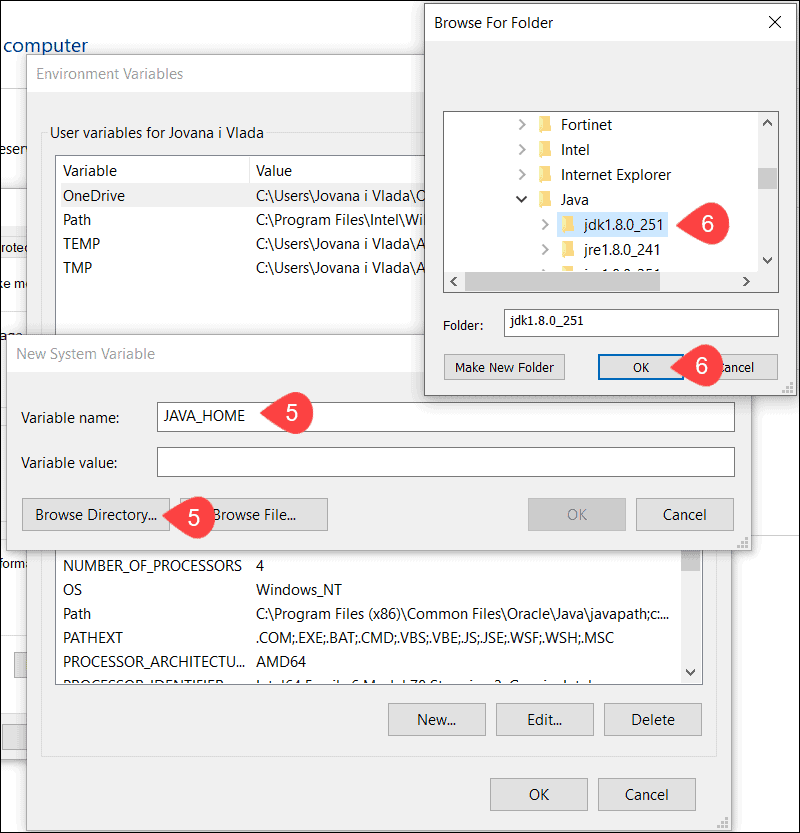
6. Navigate to This PC > Local Disk C: > Program Files > Java > jdk1.8.0_251 and select OK.
7. Once the correct path to the JDK 8 installation folder has been added to the JAVA_HOME system variable, click OK.
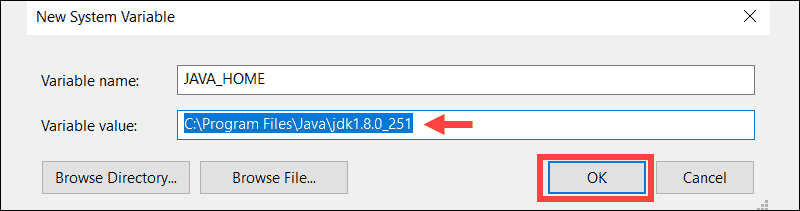
8. You have successfully added the JAVA_HOME system variable with the correct JDK 8 path to the variable list. Select OK in the main Environment Variables window to complete the process.
Users interact with the Cassandra database by utilizing the cqlsh bash shell. You need to install Python 2.7 for cqlsh to handle user requests properly.
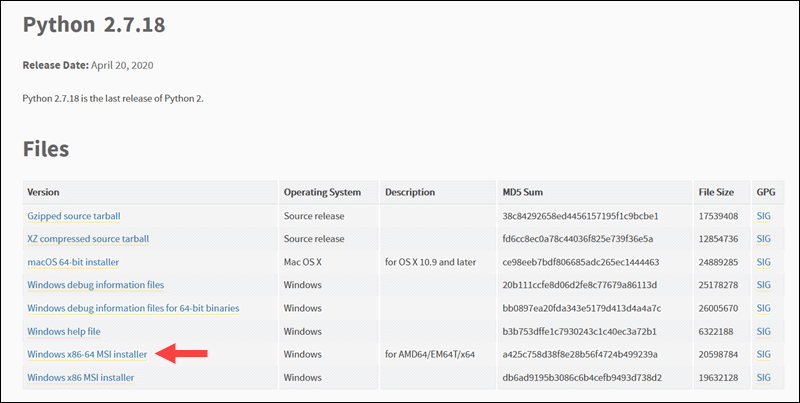
1. Visit the Python official download page and select the Windows x64 version link.
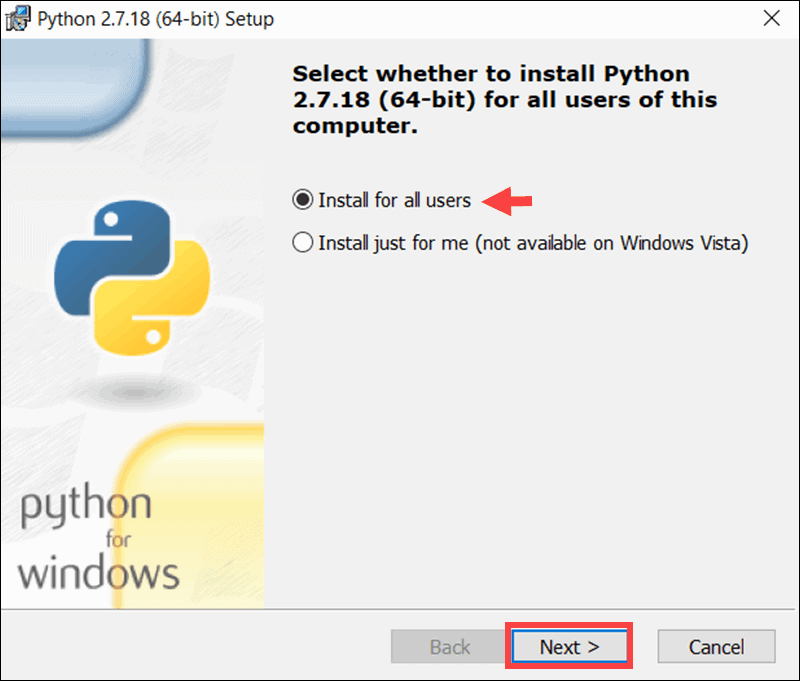
2. Define if you would like Python to be available to all users on this machine or just for your user account and select Next.
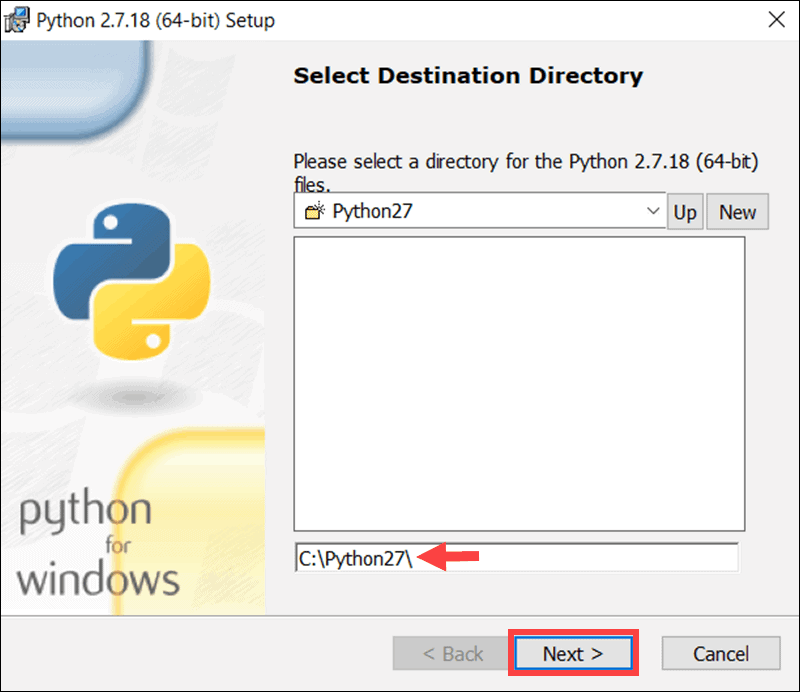
3. Specify and take note of the Python installation folder location. Feel free to leave the default location C:Python27 by clicking Next.
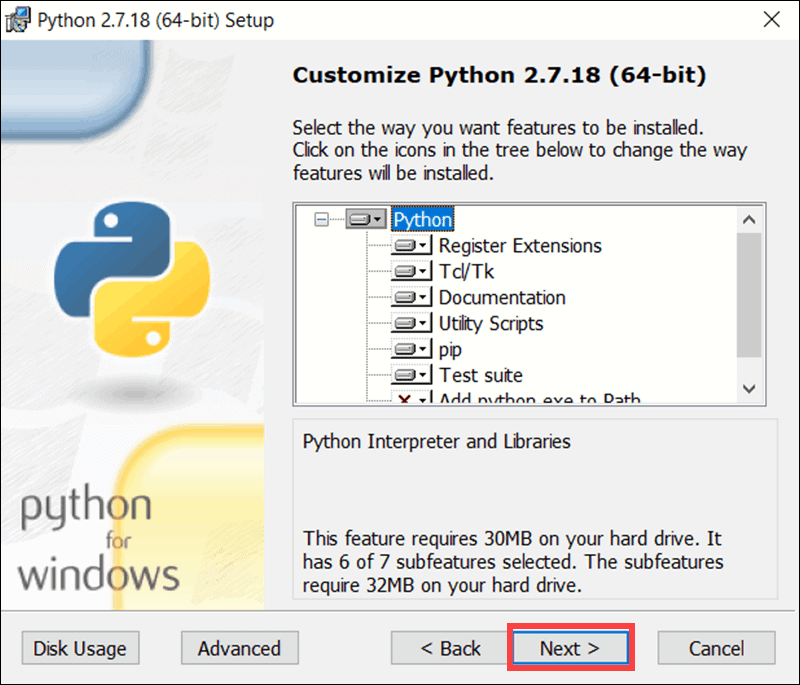
4. The following step allows you to customize the Python installation package. Select Next to continue the installation using the default settings.
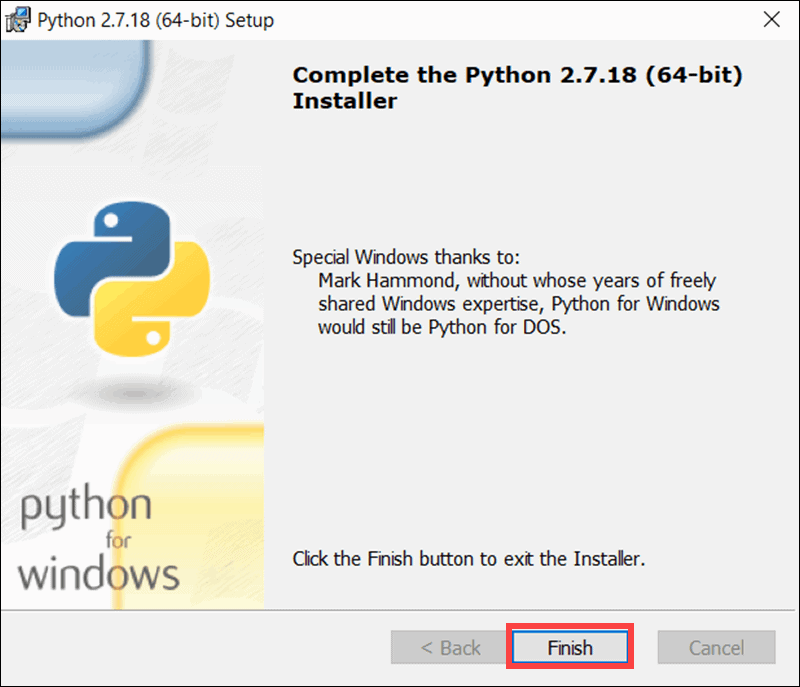
5. The installation process takes a few moments. Once it is complete, select Finish to conclude the installation process.
1. Navigate to This PC > Properties.
2. Select the Advanced system settings option.
3. Click Environment Variables…
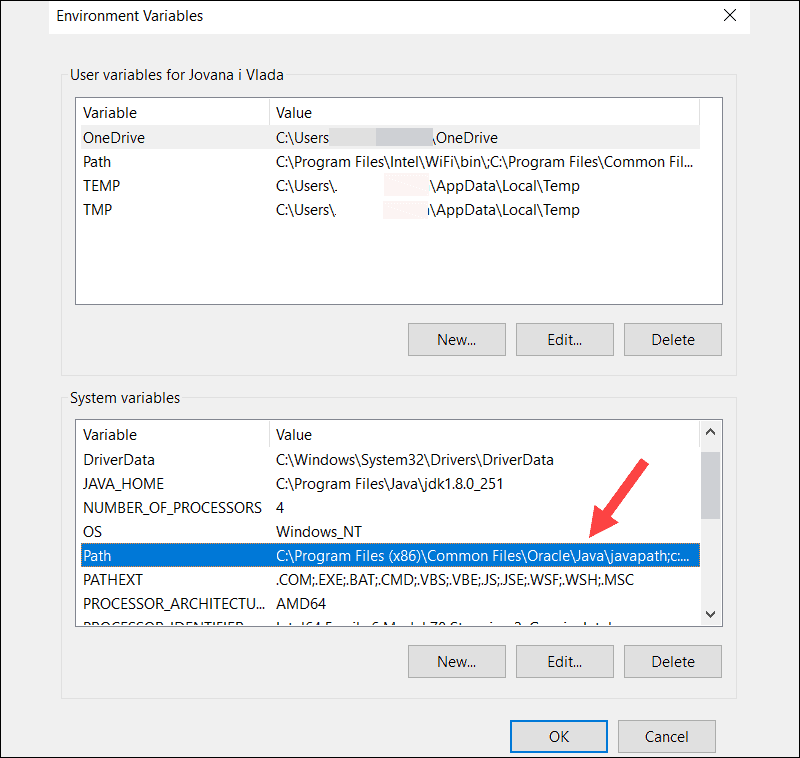
4. Double-click on the existing Path system variable.
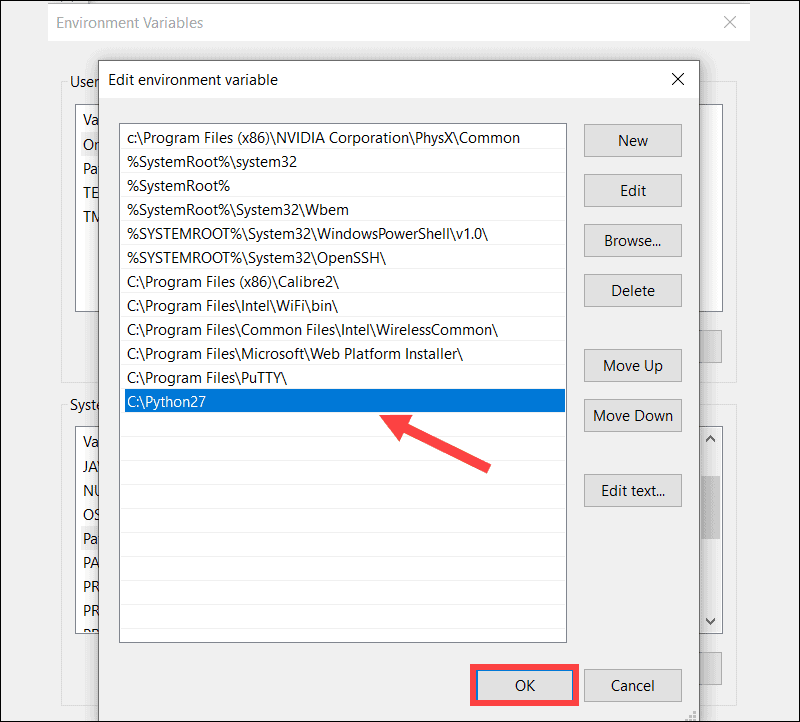
5. Select New and then Browse to locate the Python installation folder quickly. Once you have confirmed that the path is correct, click OK.
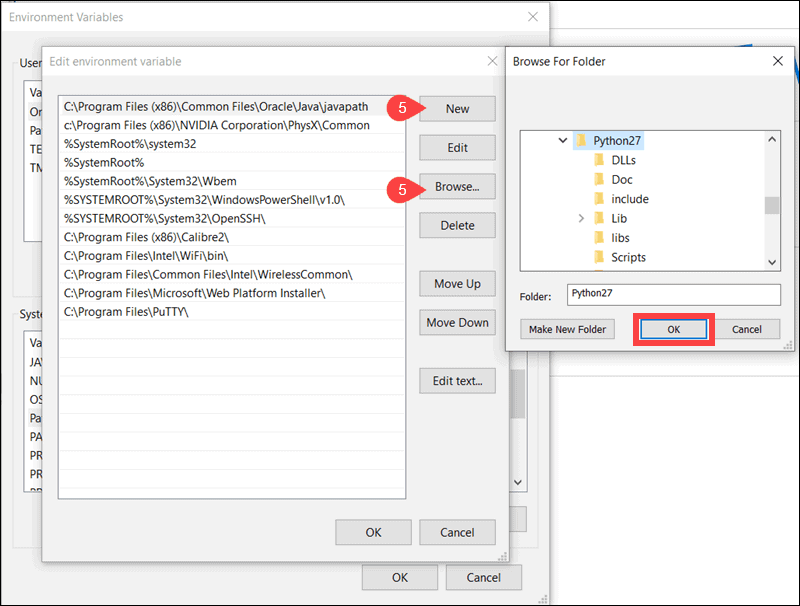
6. Add the Python 2.7 path to the Path system variable by selecting OK.
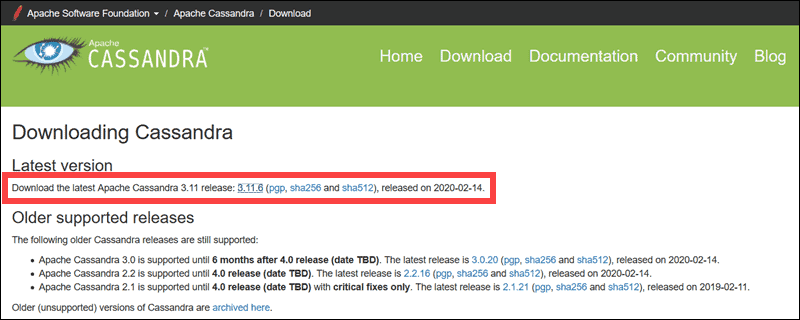
1. Visit the official Apache Cassandra Download page and select the version you would prefer to download. Currently, the latest available version is 3.11.6.
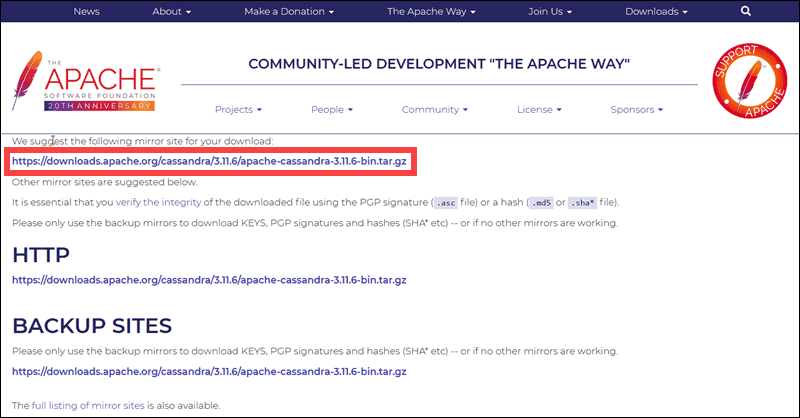
2. Click the suggested Mirror download link to start the download process.
Note: It is always recommended to verify downloads originating from mirror sites. The instructions for using GPG or SHA-512 for verification are usually available on the official download page.
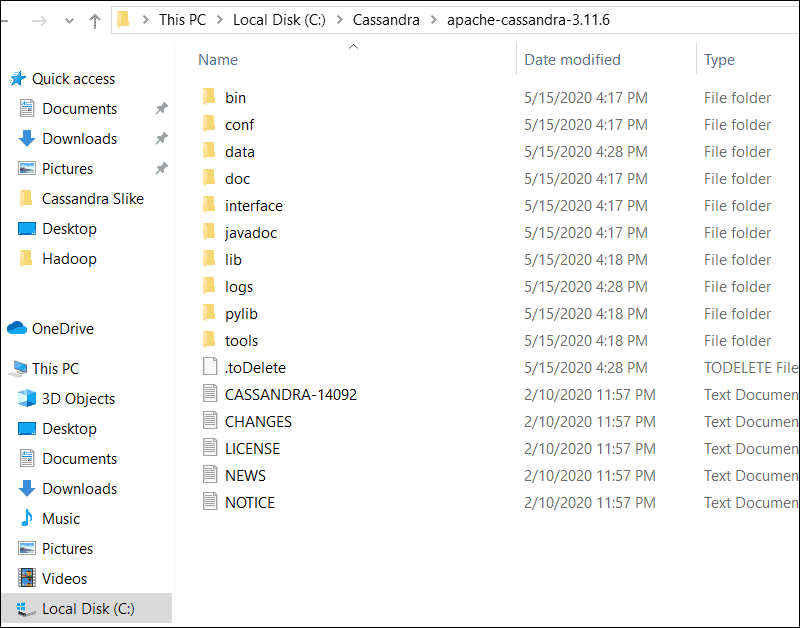
4. Unzip the compressed tar.gz folder using a compression tool such as 7-Zip or WinZip. In this example, the compressed folder was unzipped, and the content placed in the C:Cassandraapache-cassandra-3.11.6 folder.
Set up the environment variables for Cassandra to enable the database to interact with other applications and operate on Windows.
1. Go to This PC > Properties.
2. Go to Advanced system settings.
3. Click the Environment Variables… button.
4. Add a completely new entry by selecting the New option.
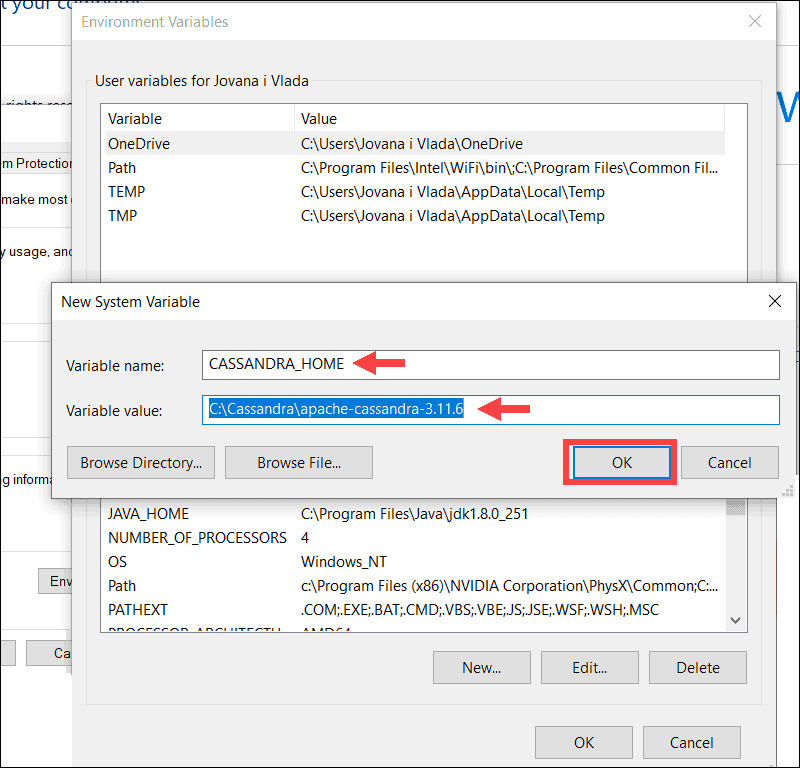
5. Type CASSANDRA_HOME for Variable name, then for theVariable value column select the location of the unzipped Apache Cassandra folder.
Based on the previous steps, the location is C:Cassandraapache-cassandra-3.11.6. Once you have confirmed that the location is correct, click OK.
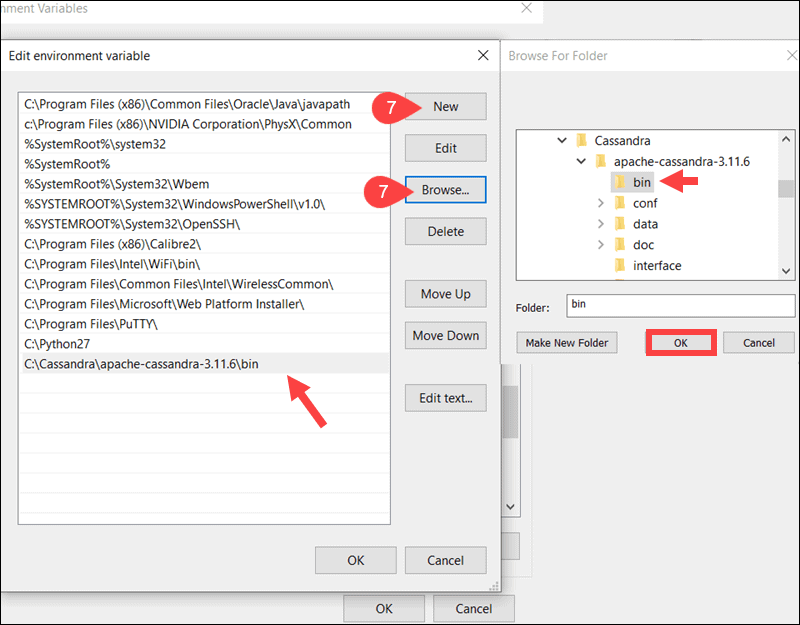
6. Double click on the Path variable.
7. Select New and then Browse. In this instance, you need to add the full path to the bin folder located within the Apache Cassandra folder, C:Cassandraapache-cassandra-3.11.6bin.
8. Hit the OK button and then again OK to save the edited variables.
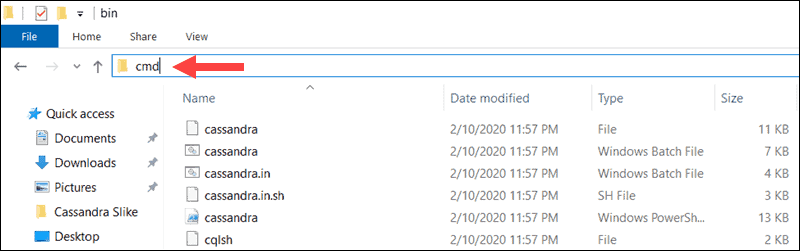
Navigate to the Cassandra bin folder. Start the Windows Command Prompt directly from within the bin folder by typing cmd in the address bar and pressing Enter.
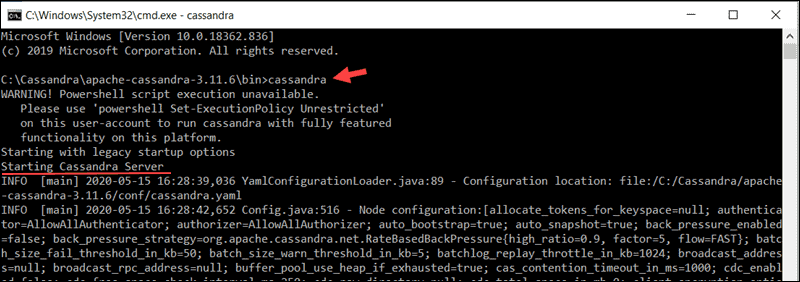
Type the following command to start the Cassandra server:
cassandra
The system proceeds to start the Cassandra Server.
Do not close the current cmd session.
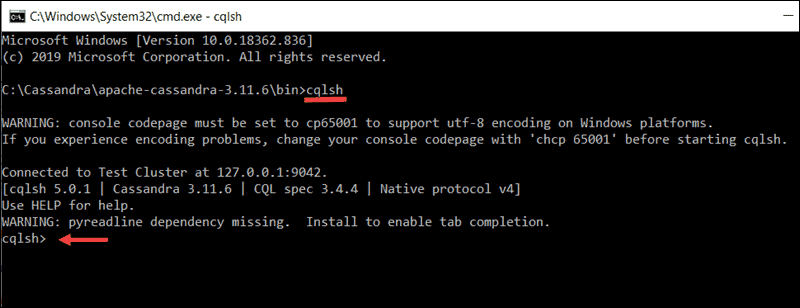
While the initial command prompt is still running open a new command line prompt from the same bin folder. Enter the following command to access the Cassandra cqlsh bash shell:
cqlsh
You now have access to the Cassandra shell and can proceed to issue basic database commands to your Cassandra server.
Conclusion
You have successfully installed Cassandra on Windows.
Large volumes of unstructured data can be an issue for traditional relational databases. This popular NoSQL database solution is going to allow you to capture and store a lot more of increasingly valuable data.
Learn more about how to use Cassandra in our guide on how to create, drop, alter and truncate Cassandra tables.